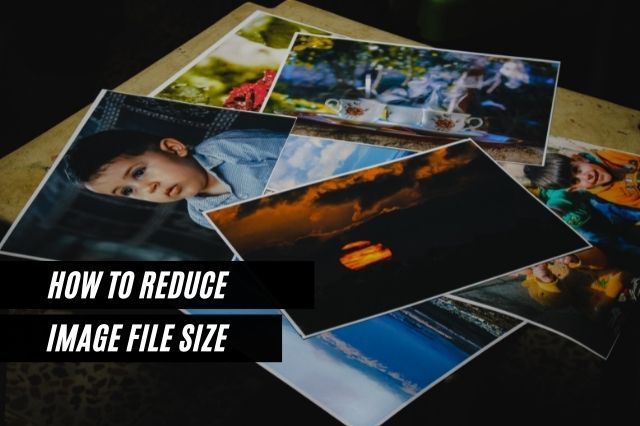
How To Reduce Image File Size In 2 Easiest Ways.
Hey folks, today in this article we will show you 2 methods by which you can reduce image file size without losing its quality. So let’s start,
Nowadays, almost every WordPress user wants to deliver high-quality images to enhance their visitor’s user experience. However, there are file size restrictions when you send them on online platforms such as WhatsApp, Telegram, or other social media platforms. These restrictions prevent you from sending larger images. Therefore, image reduction is necessary. So you can easily upload or send it.
Furthermore, High-quality images impact the performance of your WordPress websites. Therefore, image compression is a must to create a fast-loading website while providing the best experience to visitors.
Before talking about the methods of reducing image file size let’s take a quick overview of what is Image File Size Reduction.
Image File Size Reduction:

You can reduce the file size of any image by changing or adjusting the quality of the image or by compressing it. You can reduce the image file size both online and offline way. The best way to reduce the image file size without compromising its quality is by compressing it. It reduces the file size of the JPG, BMP, and SVG image types without changing the actual dimensions of the image.
These types of images can also be used for podcast covers, for example, so this can be considered a general rule of thumb.
What Is The Best Image Size For Websites?

Generally, images require to be as small as possible without losing their quality and negatively affecting user experience to a greater extent. However, there are many variables on which the image file size depends. For instance, an elaborated colorful image is always greater than a black and white text image.
The most user wants to make their website load as quickly as possible while ensuring the quality of images remains as good as possible. It’s a tricky task to perform. For some Images, this size may be around 20 KB, and for some, it may be 200 KB. It all depends on the requirements of the website.
How To Reduce Image Size
There are two ways to reduce image size. By doing that, you can reduce the image as small as possible without impacting the experience of your visitors.
- Image Compression To Reduce The Size
- Resizing The Dimensions Of The Images
1. Image Compression To Reduce The Size
Image Compression is helpful when you upload your images online or send them via email or message. Because when you send files online via WhatsApp or other platforms, there are file size restrictions. These restrictions prevent you from sending larger images. Therefore, image compression is necessary. So you can easily upload or send it.
For Image compression, you can choose a new image file or use the above-saved images to reduce the file size further. You can perform image compression in the following two ways-
- By using manual Image Compression Tools
- By using automatic Image compression tools and plugins
● By Using Manual Image Compression Tools

If you want to do things manually, or you do not want to add extra tools to your WordPress, then this is the best method for you. In this method, you can use online Image Compression Tools such as TinyPNG, PunyPNG, Compressor, Kraken, Compress Now, etc. It is an entirely free method, but it requires more work than automatic Image compression tools and plugins.
All of these tools work similarly. So, in this guide, we will show you how to use one of these tools. For this, we are using TinyPNG to reduce the image size.
TinyPNG:

Just drag and drop your desired file into the TinyPNG interface to reduce the image size. Once you have dropped your desired file, TinyPNG will automatically compress your desired image file and prepare it for download. And if you have compressed multiple images, then you have the option to download them as a zip file.
● By Using Automatic Image Compression Tools And Plugins
The next method by which you can compress the images is using automatic Image compression tools and plugins. There are many free and premium tools and plugins available which, you can add to your WordPress. These plugins automatically compress your images as you upload them to your WordPress. These plugins also apply other optimizations to your Images.
For this, you can use plugins such as EWWW Image Optimizer, Optimole, ShortPixel Image Optimizer, WP Rocket, reSmush.it, etc. Just install one of these plugins and activate it. Then it automatically performs the image compressions on your WordPress.
2. Resizing The Dimensions Of The Images
Which image dimensions suits your website perfectly? All of this depends on your WordPress theme. Generally, WordPress themes have a content area around 750-850 px wide. However, Now many users want to double this value. Because now most of the devices support high-resolution images and videos. By doing this, they can enhance the user experience of the visitors.
Furthermore, if you are not sure about the size of the resizing image, you can start with a maximum width of 1,500 px. To do that, first ensure that you have saved the image at the dimensions you want to use on your website. The Further process depends on the OS you are using.
For Windows — Open the image you want to resize in Paint. After opening the image, select the Resize option from the options in the toolbar. Now enter the amount of the image for resizing image size.

You can express this amount as a “percentage or by the total number of pixels in the image”. After that, Paint automatically maintains the aspect ratio of resized images. Now, click on the OK button for the image to be resized. You can save this resized image as either a PNG or a JPG.
For Mac OS — Resizing images is also quite simple on Mac OS. To do that, first, open the file you want to resize in the Preview app, then go to Tools and select the Adjust Size option.

After doing that, Enter the width you would like to resize the image and Check the Resample box. It will automatically set to maintain the aspect ratio of the image when the image is resized. In short, the height will be calculated automatically by this tool. Now, click the OK button and save the file. You can save this resized image as either a PNG or a JPG.
Conclusion:
First of all, thanks for visiting our website. I hope this article answered all of your burning questions and queries. However, if you have any further queries regarding this article, you can ask me in the Comment section below.